Here's a list of what I needed to make the backdrop:
- 4 sheets 4'x8' 1/8" masonite hardboard
- 3/4" firring strips
- 3" wood screws for mounting the firring strips
- 18ga finish nails for mounting the hardboard
- 1-1/4" sheetrock screws
- Drywall Mud with vinyl
I had the hardboard cut at the lumberyard as they will do it for free, saving me the work from doing it, and makes it easier to handle. The top of the upper benchwork is just under 45" from the ceiling, so I had the hardboard cut to 42".
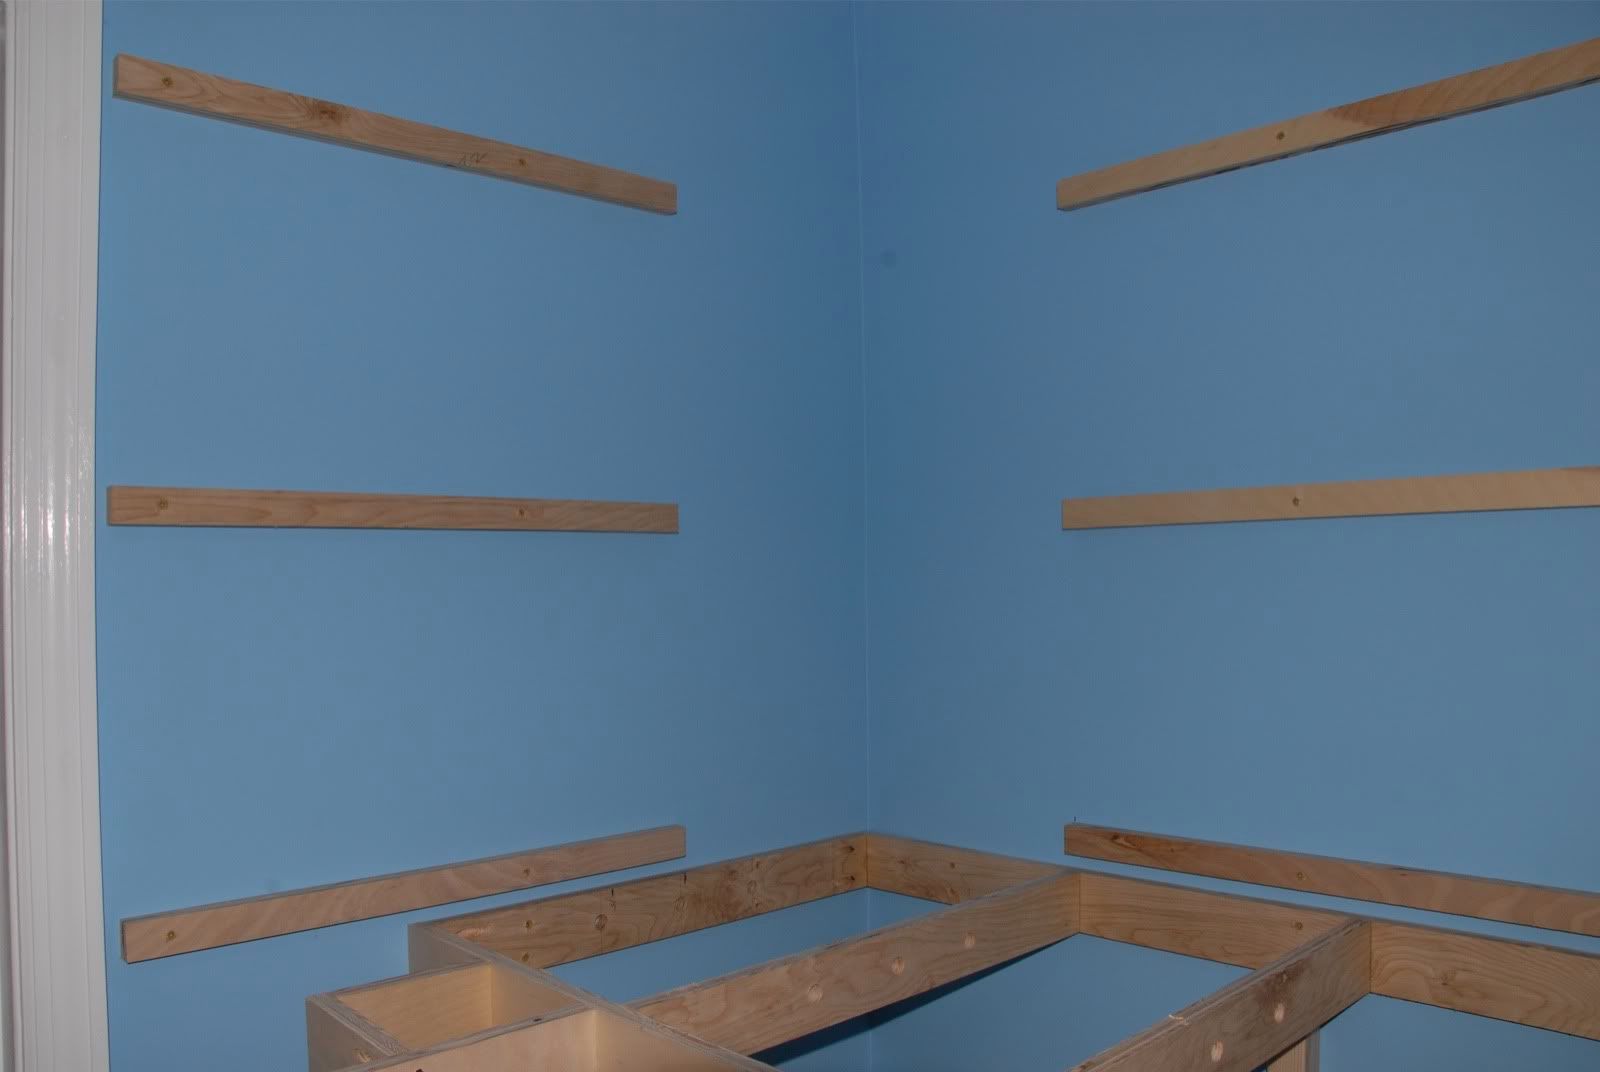
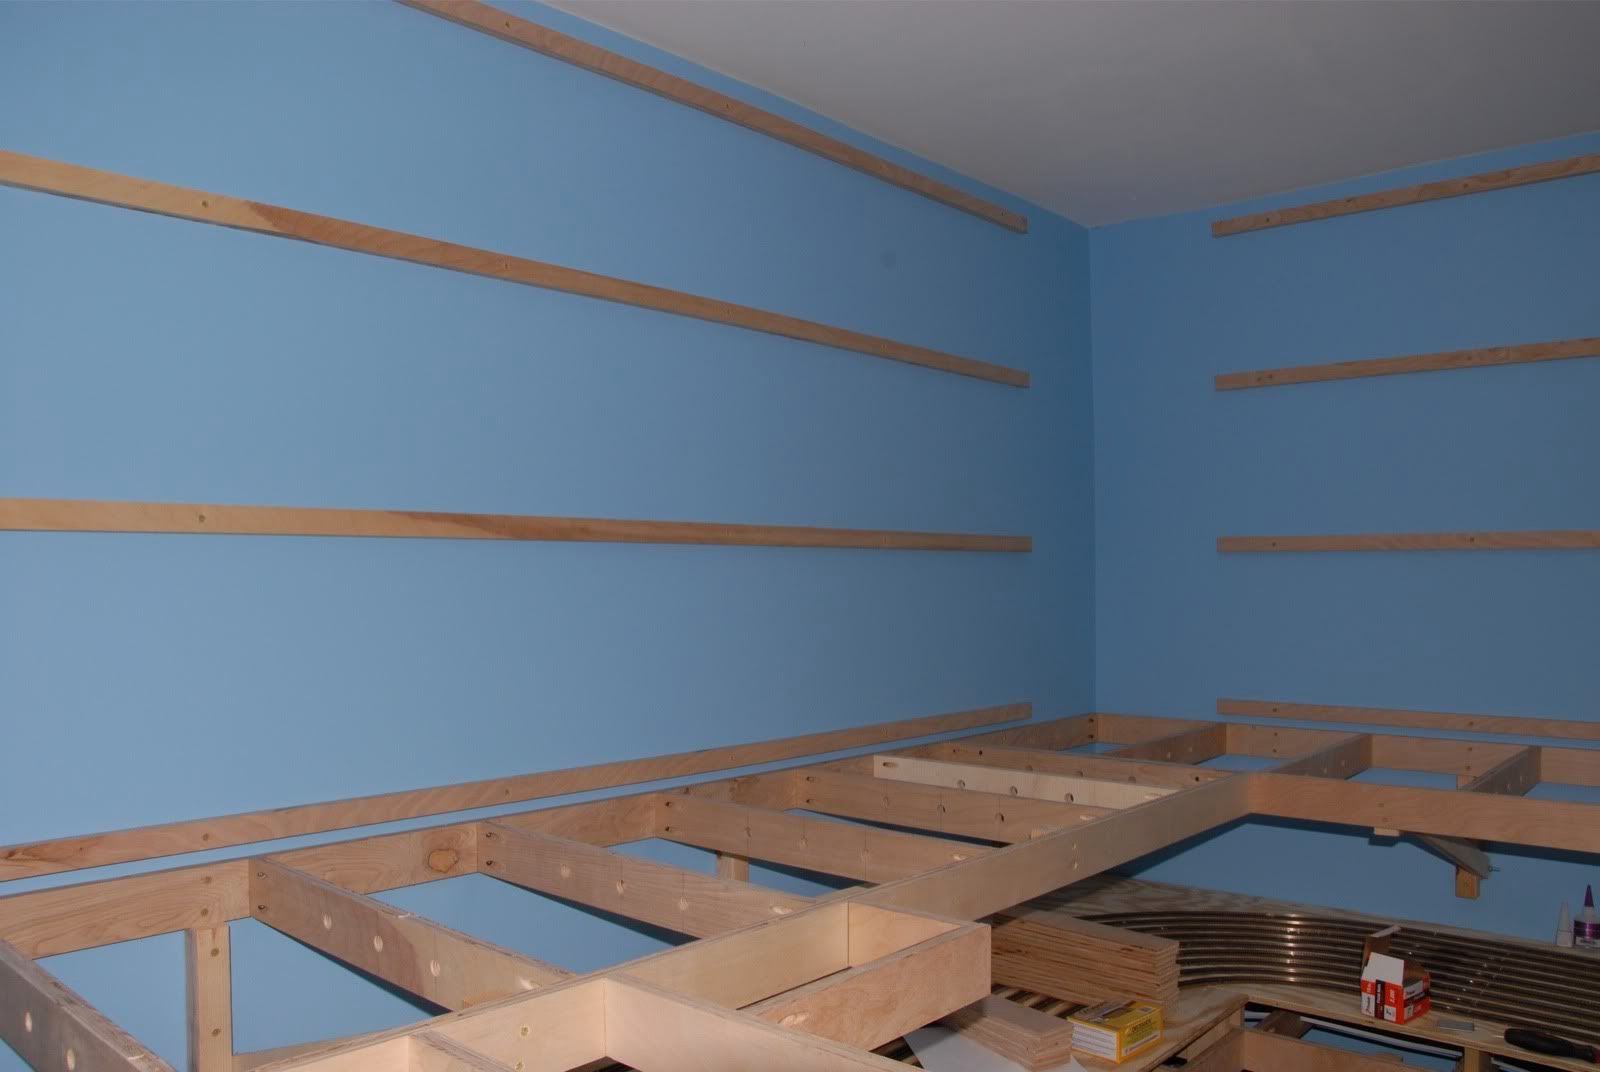
First thing to do was to mount the firring strips to the walls. There will be 4 firring strips behind the hardboard for it to mount to, and the strips themselves will be mounted to the studs behind the sheetrock using 3" screws. For firring strips I used some leftover 3/4" plywood I had left over from the benchwork, however any straight firring strips will do. The reason I chose to use firring strips to mount the hardboard to instead of mounting the hardboard directly to the existing sheetrock and studs was that it would give me a uniform mounting surface anywhere instead of only have one every 16" at the stud locations. Using only the studs would have made mounting the hardboard much harder.
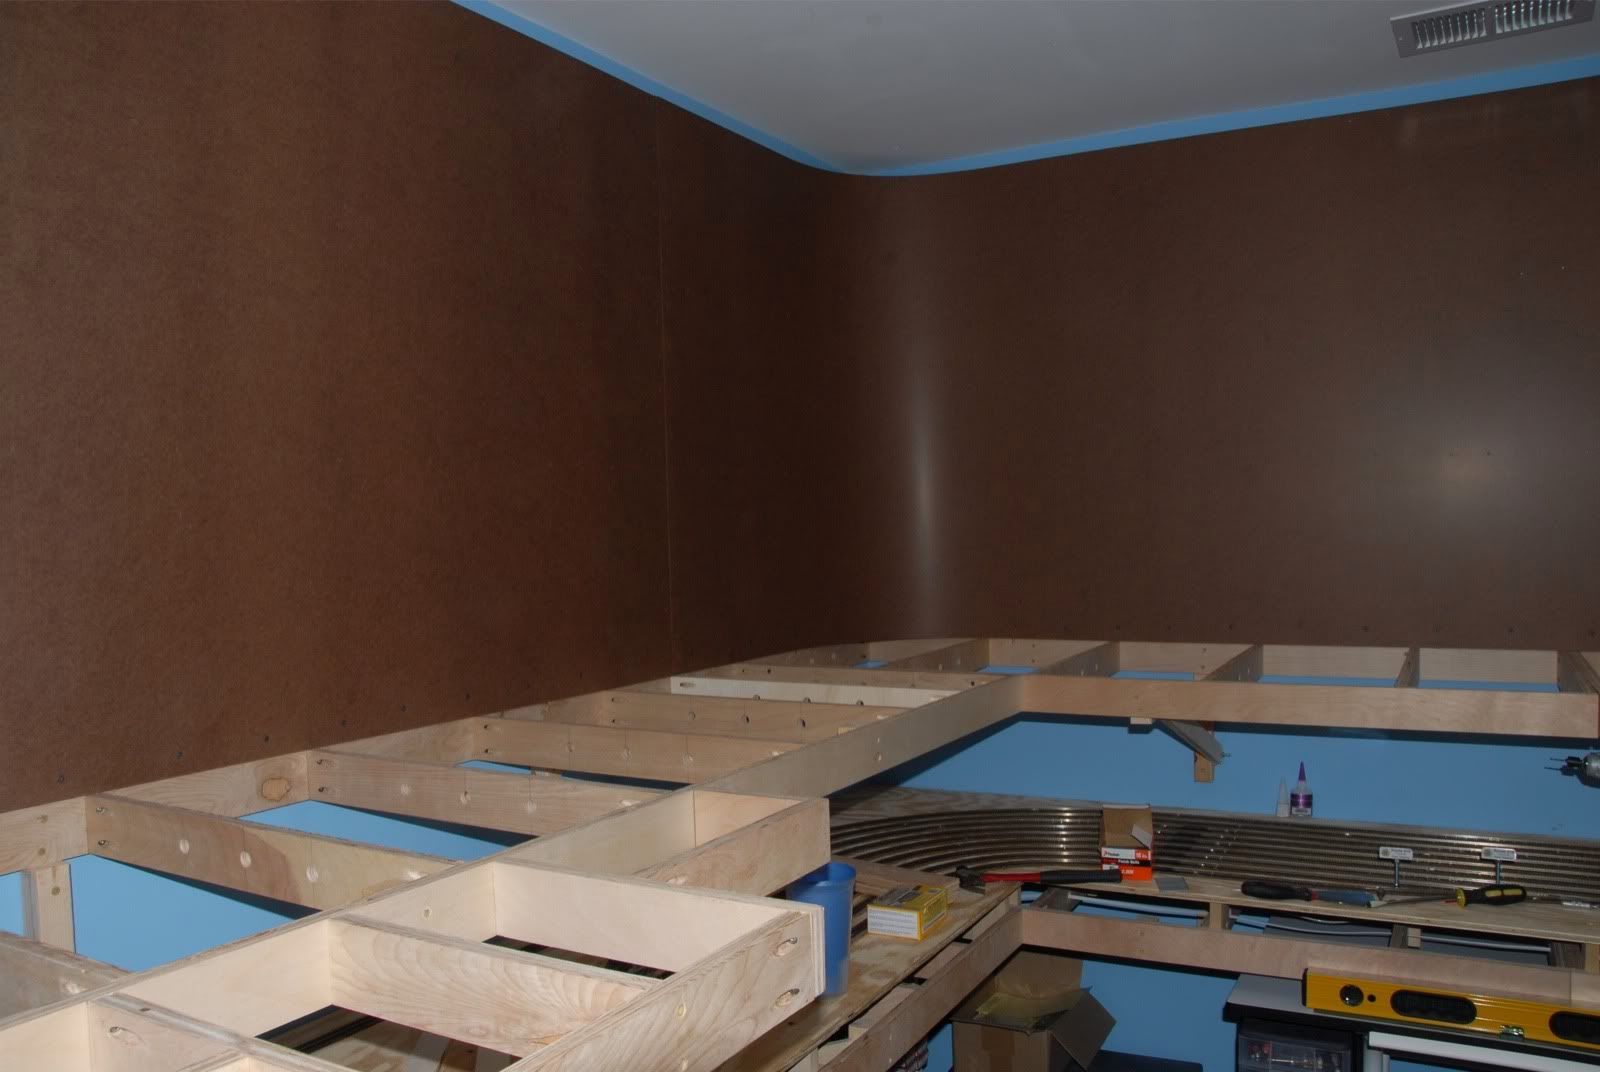
Here are some pics showing the firring strips mounted to the walls. They are mounted at the top, bottom and 2 evenly spaced locations corresponding to the height of the hardboard. I left them 12" away from the corners to save some wood, as the hardboard will be coved with a 15" radius. Having a laser level made getting these straight and level much easier.
Next came mounting the hardboard to the firring strips. Here is where the power of the internet came in handy: while researching the best way of building backdrops I read where a model railroader had mounted his hardboard backdrop using an air compressor powered nailgun and 18 ga finish nails instead of using countersunk screws. Having used countersunk screws with 1/8" hardboard before (it was a pain in the tuckus!) I was willing to give the airgun and finish nails a try....and it worked perfectly! This saved a pile of work and frustration! I still used some screws along the bottom edge, as these are below track level and will not be visible, but this made the mounting even stronger.
Having a second set of hands while mounting the hardboard is a must. My wife helped me with the mounting and this made the job much easier. Before mounting I measured and marked off the starting radius at each corner, as this will give a reference point of how far to bend the hardboard. We then positioned the first piece in place, choosing the short walls by the door as the starting points. Bending the corners was a little tough at first, until we figured out a little trick: Use a long cardboard shipping tube to push & hold the corners into place until the hardboard is nailed. Any long firm board or stick will do, just make sure the edges are rounded so they don't mar the hardboard.
I left an 1/8" gap between each board, and slid some pieces of wood behind joints where the hardboard piece meet to stabilize the joints. Here are is the first piece mounted, it went behind the helix and required just a little more work to get in place:
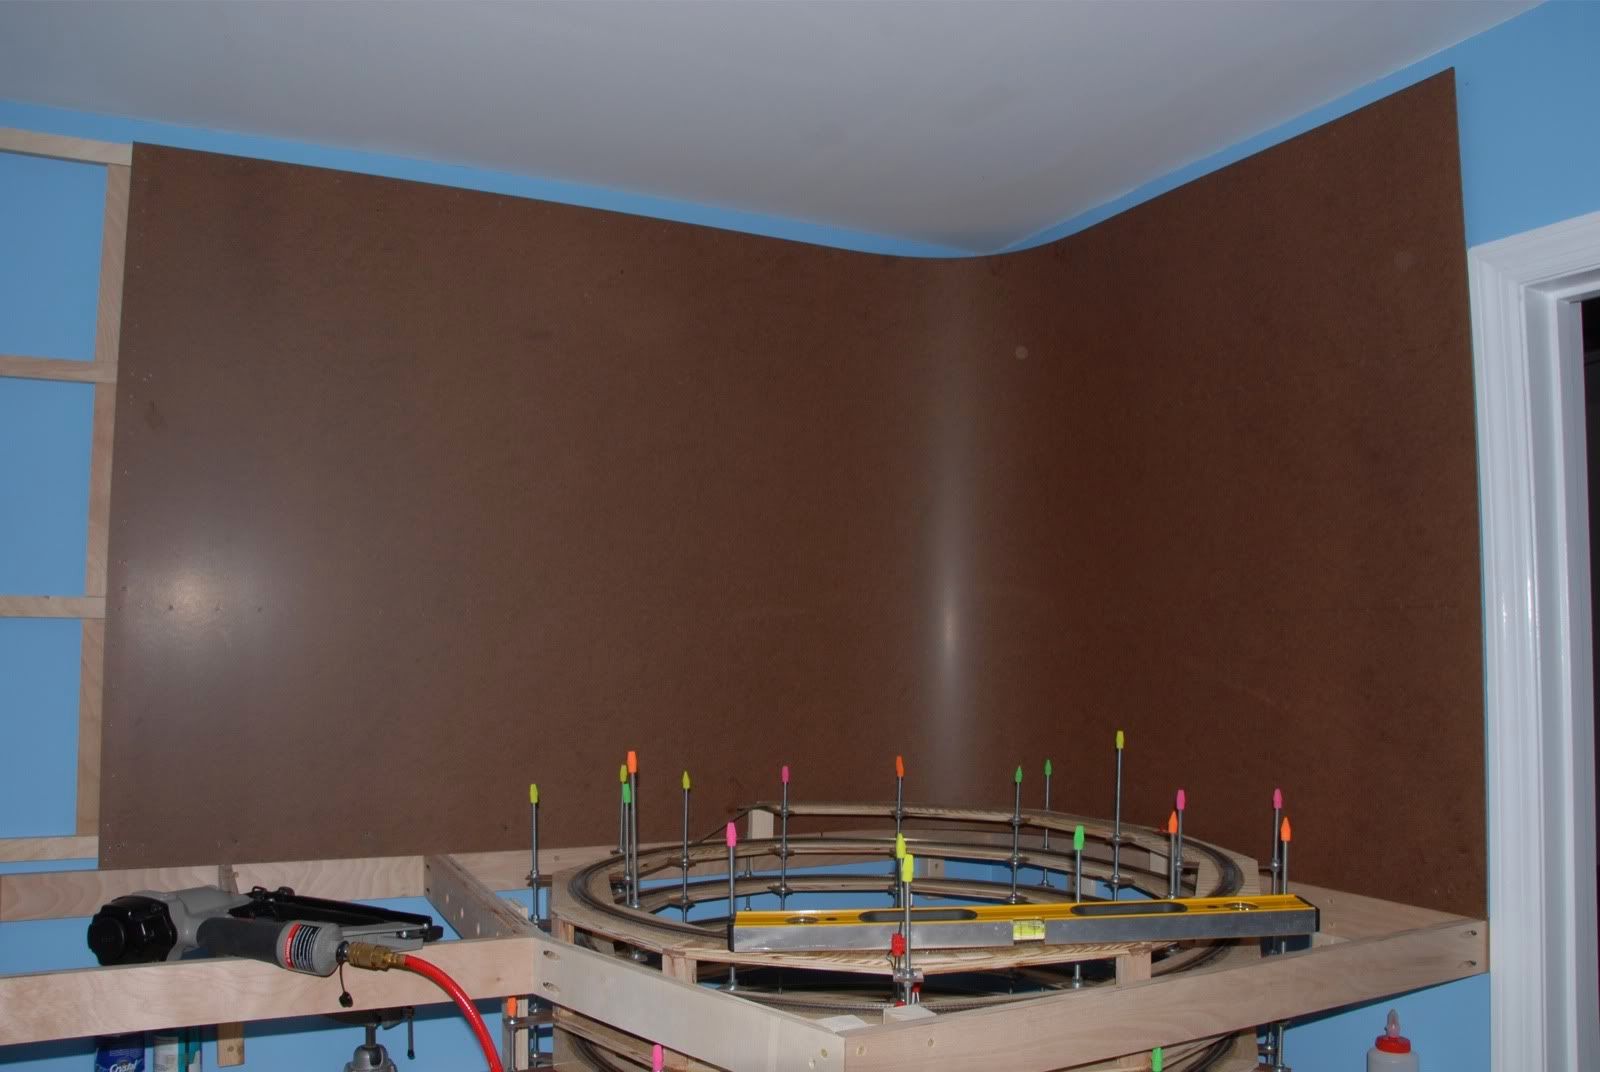
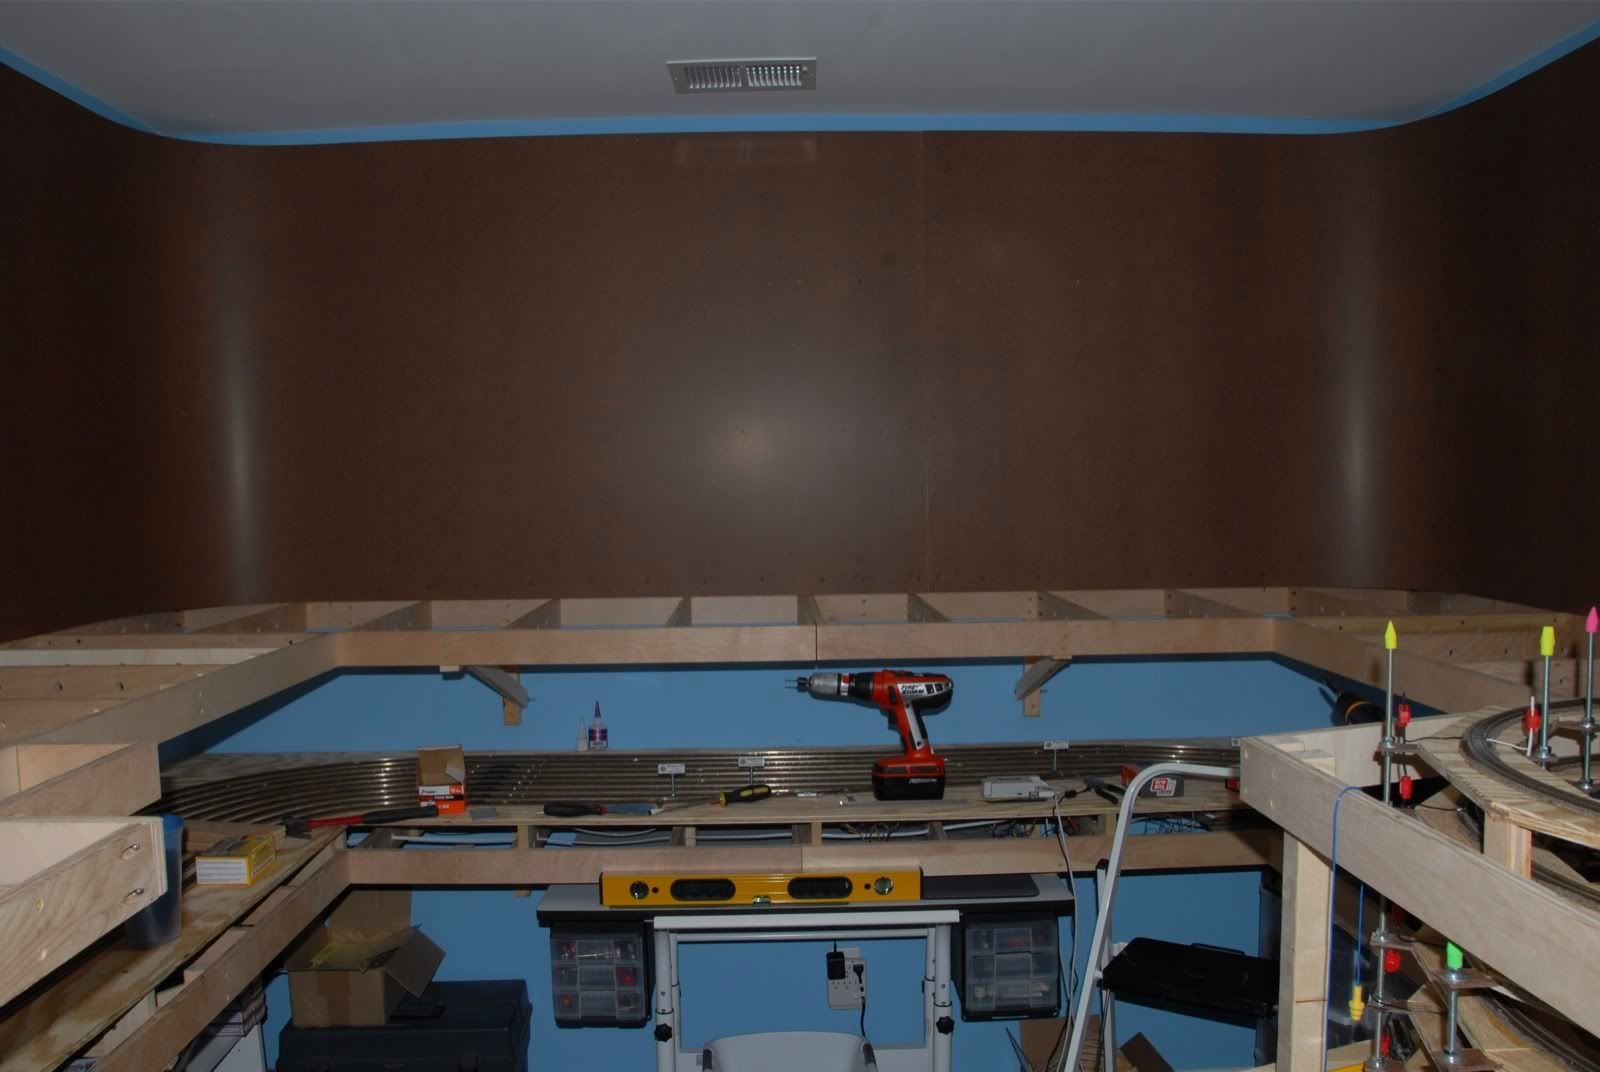
Here are pics of all the hardboard mounted:

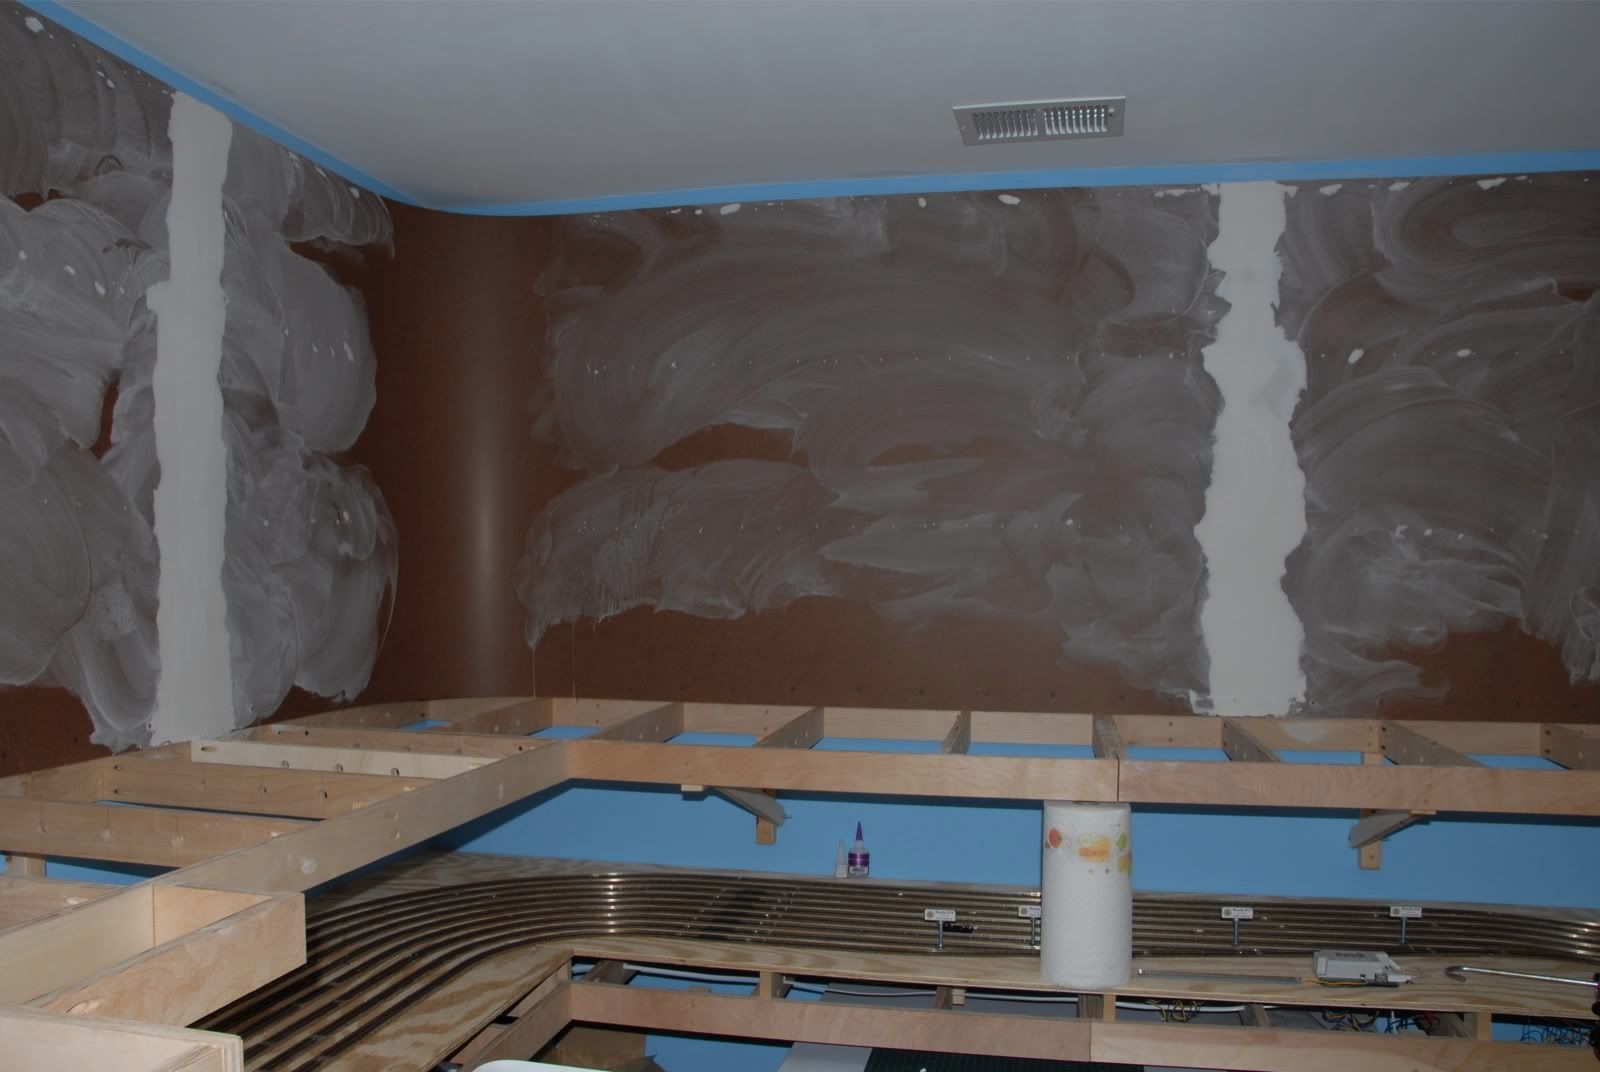
Next came the messiest part, mudding the joints and filling the nail holes. I used some fiberglass mesh tape over the seams, and then several coats of vinylized sheetrock mud. Using the mud with vinyl in it should help reduce any cracking due to movement and changes in the wood. To smooth out the mud I used a large firm sponge to do the work instead of a sanding screen. This cut out the dust problems normally associated with sheetrock mud.

After all the mud was smoothed it came time for the paint. I applied 2 coats of Behr Horizon Haze latex flat, the same color I originally used on the walls.
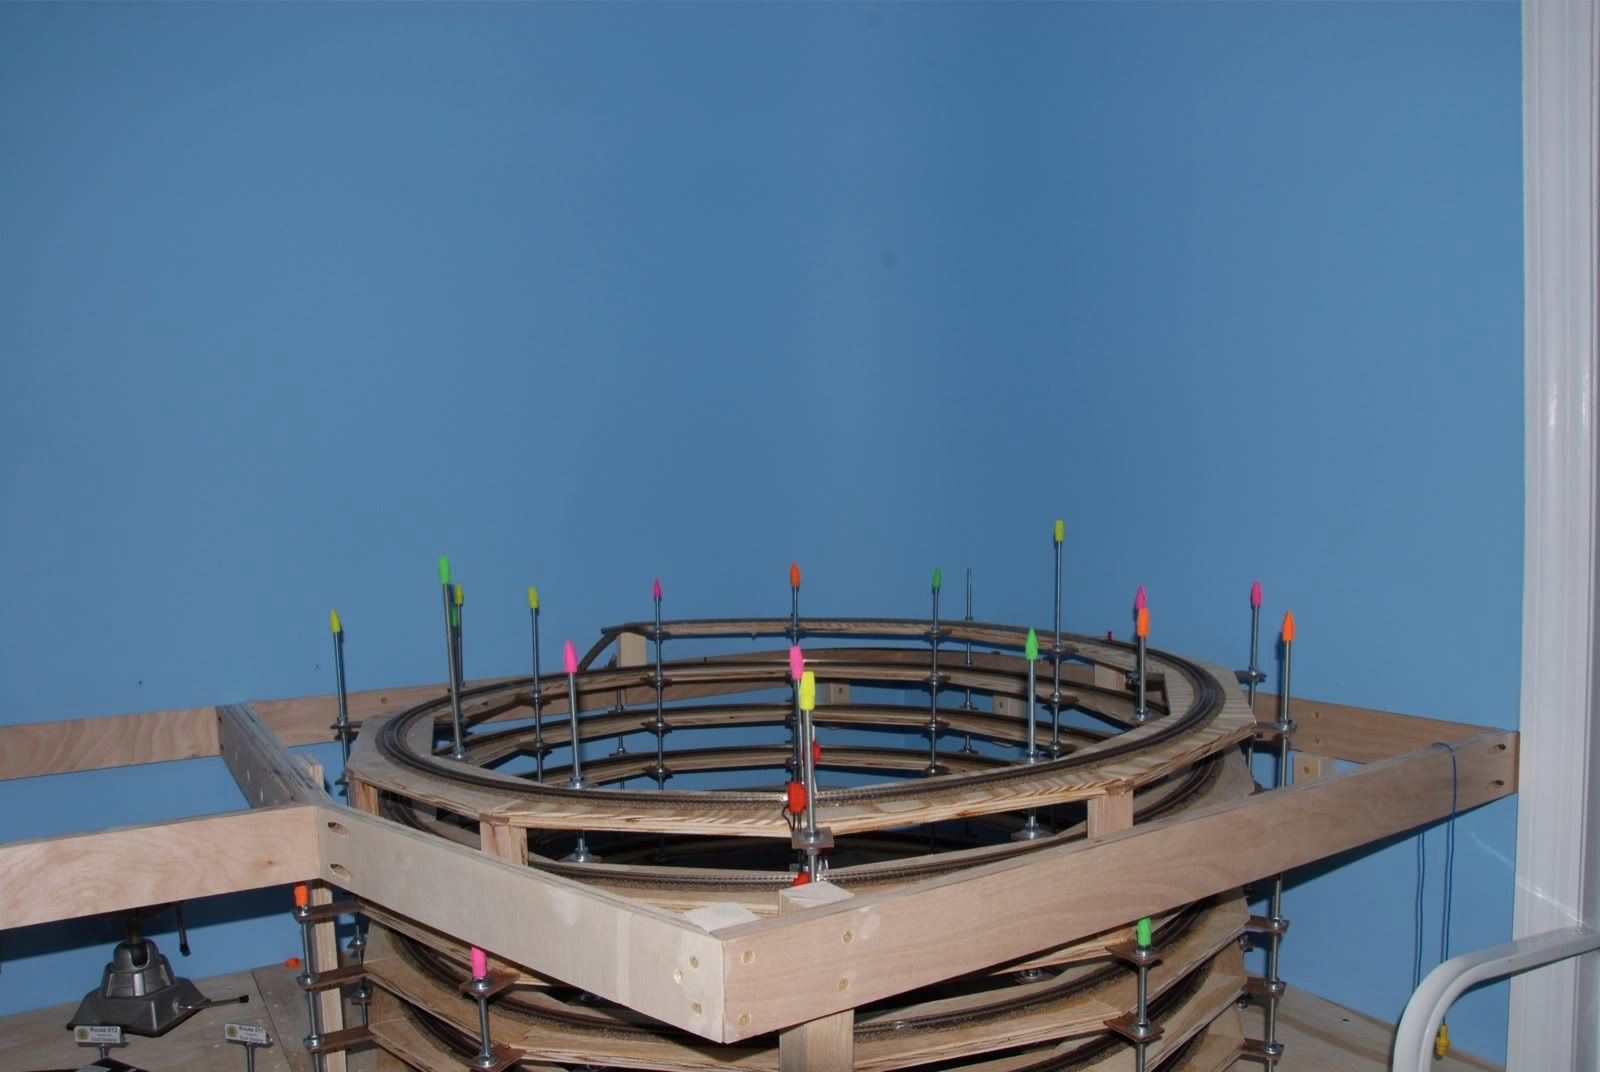

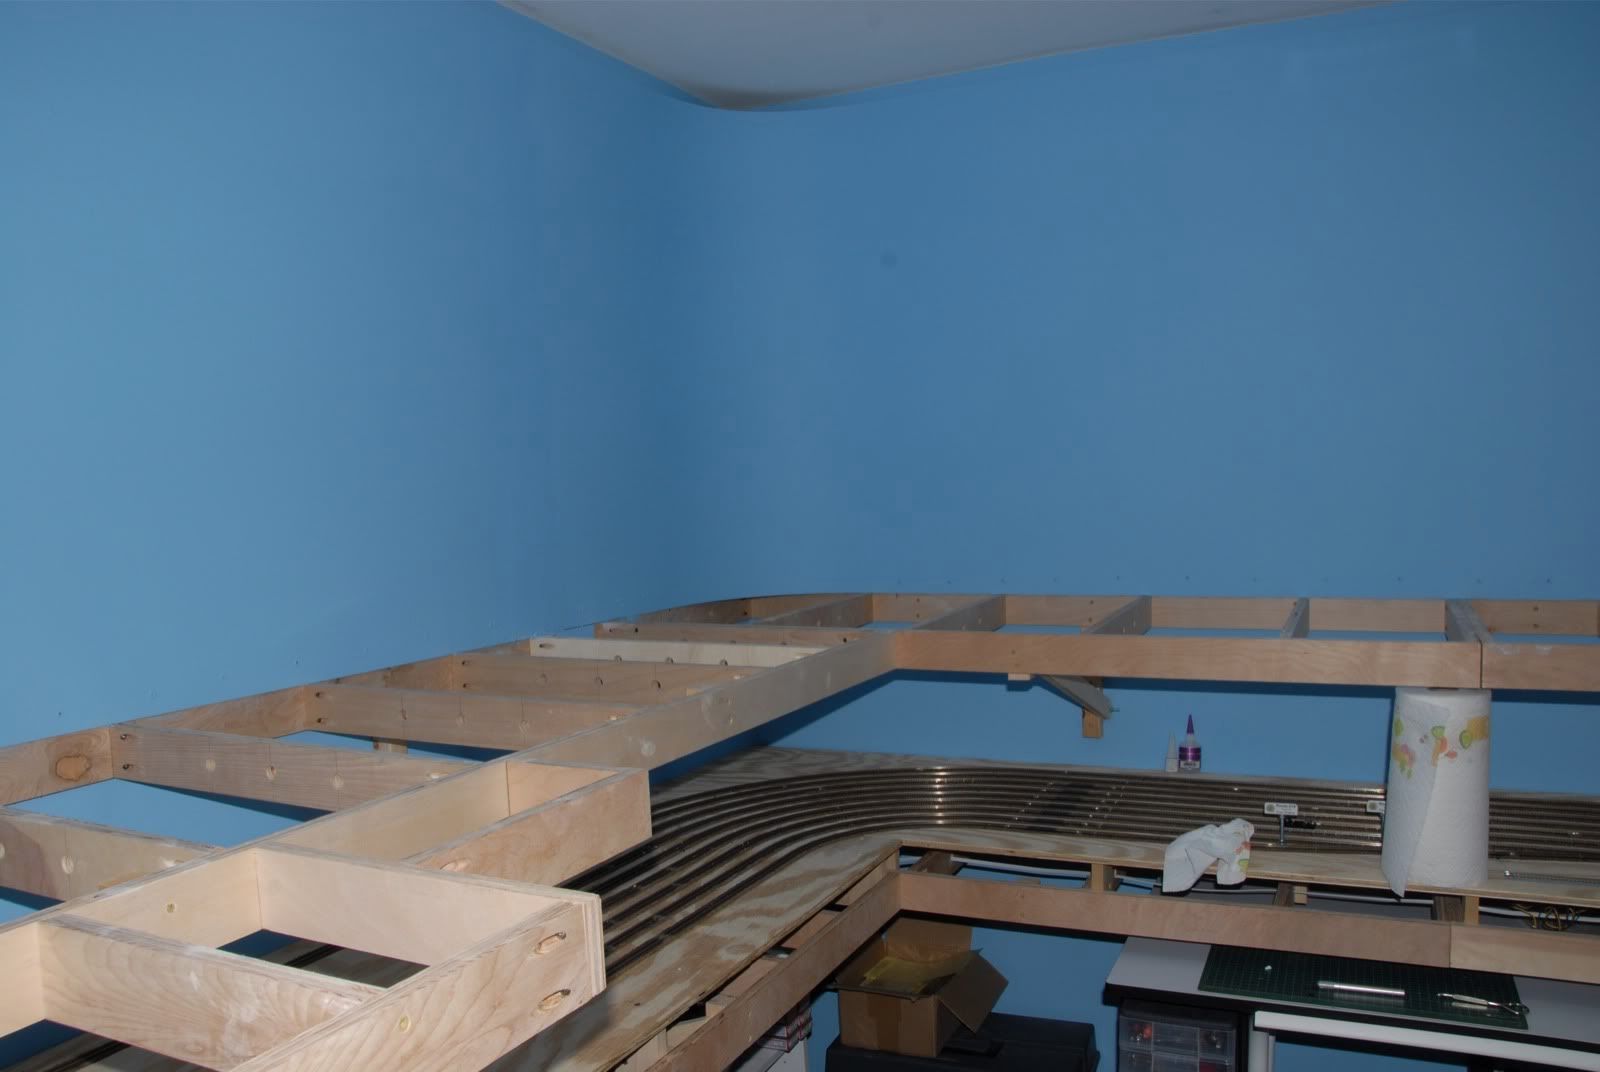
Mission accomplished! The whole idea of using a curved backdrop with coved corners is to hide the corners, giving the illusion of a continuous scene, and it works wonders once again. This is the second layout I've coved the corners and it was well worth it. This time around it was much easier and faster, using lessons learned personally and from research to get the job done over 2 weekends. The backdrop will be painted with mountains, clouds and scenery, but that will be done in later stages of the layout.
Hmm, what next to work on.......